Steps for Proceeding to Issuance
Step 1 - Risk Analysis Page
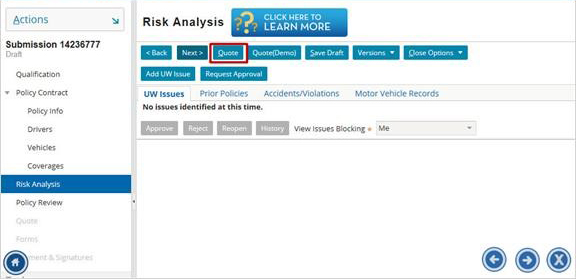
On the Risk Analysis page, check to see if there are any underwriting issues, and resolve any issues present. If there are no issues, click QUOTE to continue to the Quote page.
Step 1 - Risk Analysis Page
On the Risk Analysis page, check to see if there are any underwriting issues, and resolve any issues present. If there are no issues, click QUOTE to continue to the Quote page.
Step 2 - Quote Page
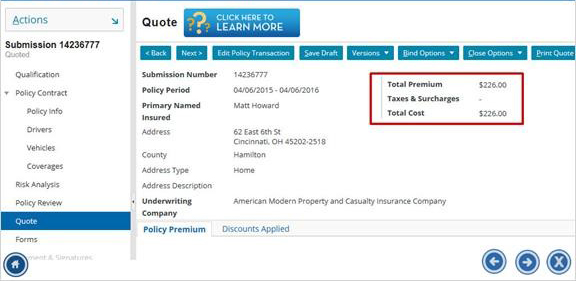
Review your rating, then click Next.
Review your rating, then click Next.
Step 3 - Verify Forms
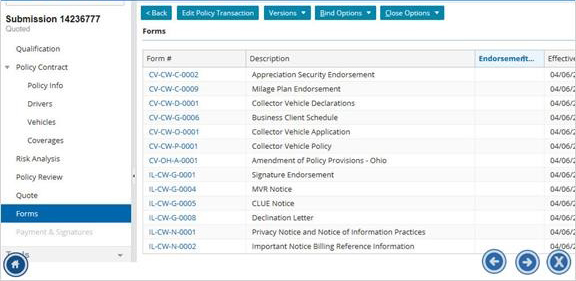
On the Forms page, upload any needed forms and verify that all required forms are present.
On the Forms page, upload any needed forms and verify that all required forms are present.
Step 4 - Bind Options
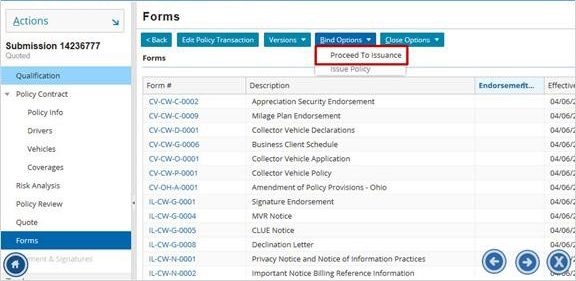
Select Proceed to Issuance from the Bind Options drop-down menu.
Select Proceed to Issuance from the Bind Options drop-down menu.
Step 5 - Payment Page or Risk Analysis
When proceeding to issuance, you will see the Issuance Checklist. This will list any problems, so that you can resolve them before moving forward. From this page, there are two things that will happen:
1. If there are any underwriting issues you will be prompted with a notification in red. Navigate back to the Risk Analysis page to view and resolve any Underwriting problems. Then repeat steps 1 through 4 again.
2. If there are no issues, click on Return to Payment & Signatures to proceed to the Billing page.
Step 6 - Billing Information
At this time, upload any needed documents, application, or UM/UIM forms.
Enter required billing information.
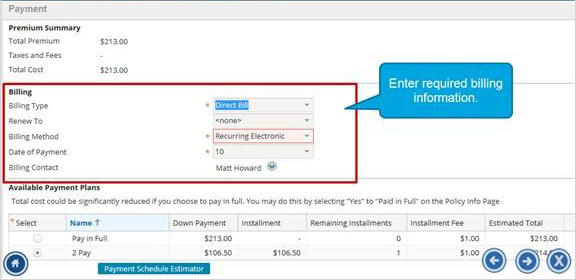
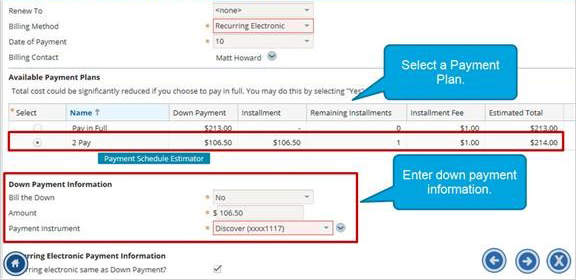
Select the payment plan and enter down payment information
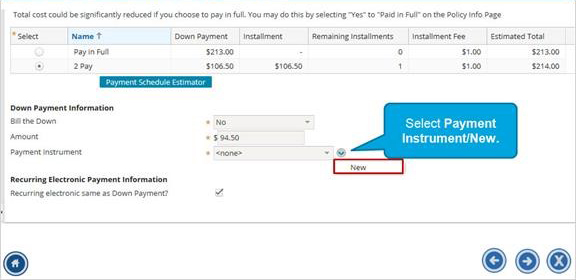
Click the arrow next to the Payment Instrument drop-down menu to select the Payment Instrument.
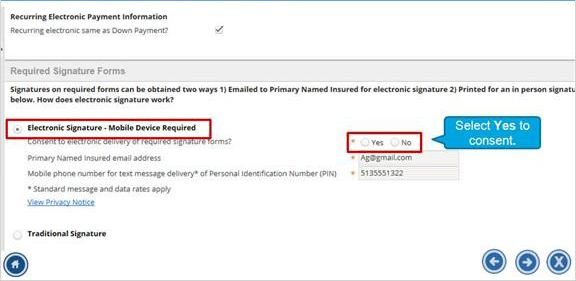
Scroll down to select the signature type.
Note: If you use electronic signature, then consent is needed.
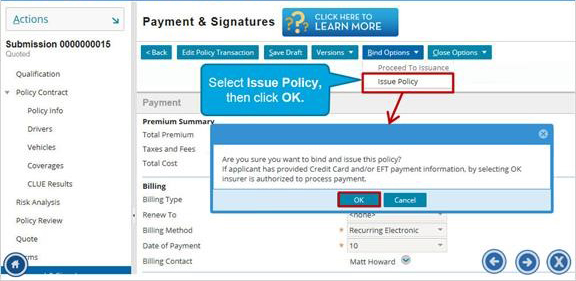
Select Issue Policy from the Bind Options drop-down menu. Click OK to bind the submission.
